
Poi means ‘ball on a cord’. Originally poi were made from flax blades, raupo, corn husks and core pith. Poi have their own whakapapa, which can be traced to Tāne Mahuta, the guardian and father of the forests, Harakeke the flax and Raupō, the bulrush.
As Tāmaki Makarau gears up for Matariki, we’ve put together an easy-to-follow guide to creating poi in the comfort of your own home. It’s an ideal whānau activity for an evening or a weekend, and just in time for celebrating the Māori new year. Karawhiua! (Give it a go!)
What you will need:
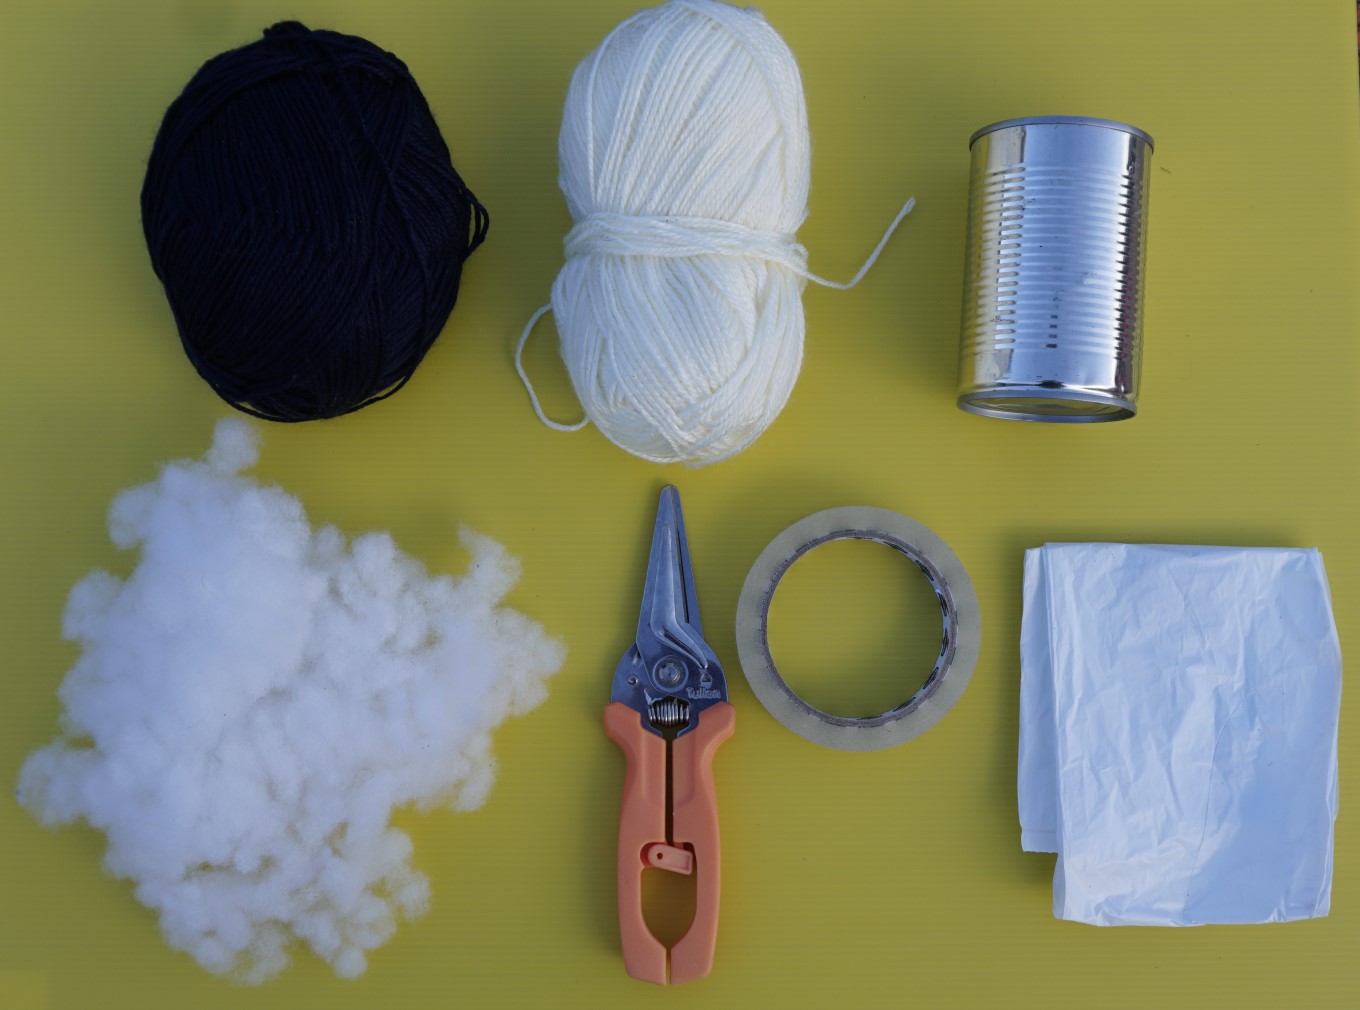
- Wool
- Tin can
- Scissors
- Cotton wool (cushion inners work well)
- Plastic or fabric bag
- Tape
Step 1:
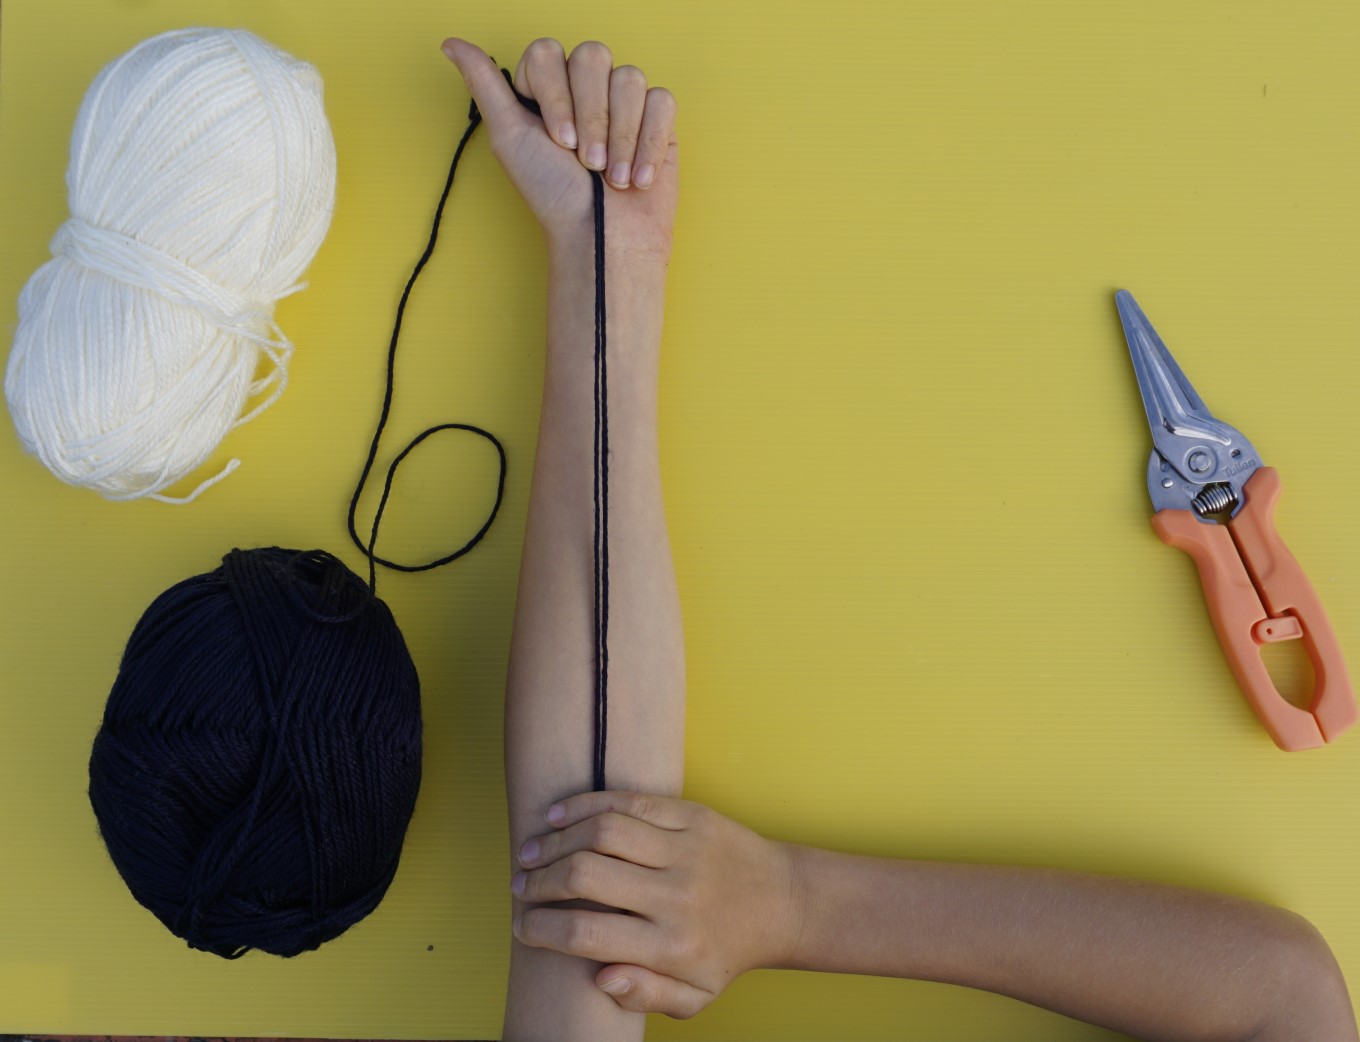
Start off by measuring out nine lengths of wool for the taura (cord). If you’re using more than one colour, you might create five lengths of one colour and four lengths of the other or use three colours and measure out three of each. For a long poi, measure a length of wool that stretches from your index finger to your elbow and back. For a short poi, it only needs to measure to your elbow. Set your nine lengths of wool to the side.
Step 2:
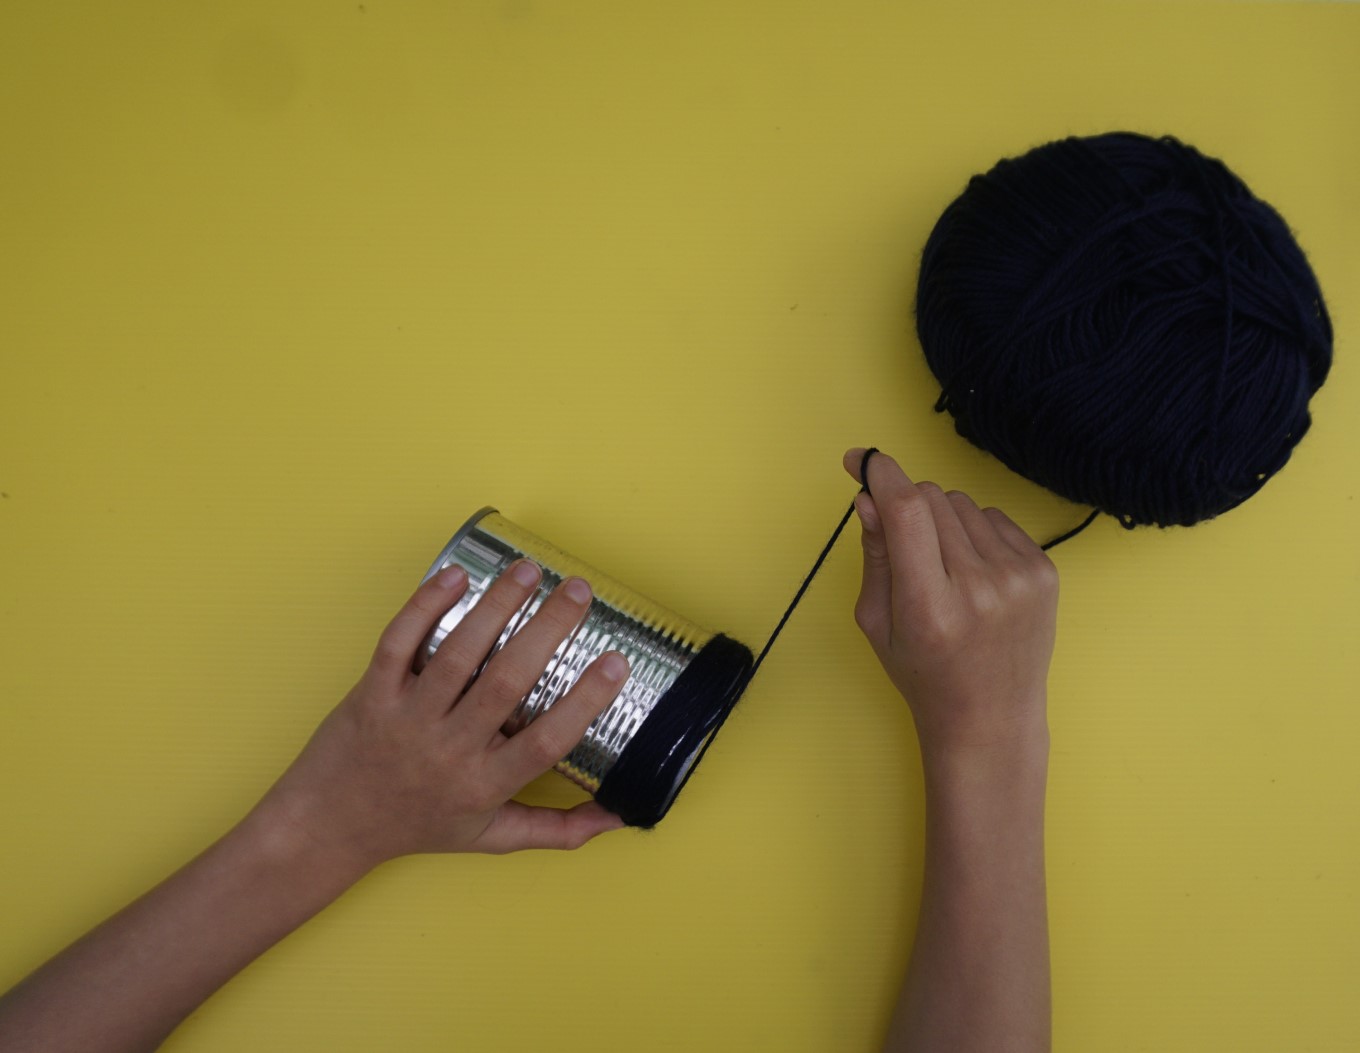
To make the hukahuka (tassel) that sits at the end of the string, loosely wrap more wool around a can 30 times.
Step 3:

Slide the circle of wool off the can and thread your nine lengths of wool evenly through the circle.
Step 4:
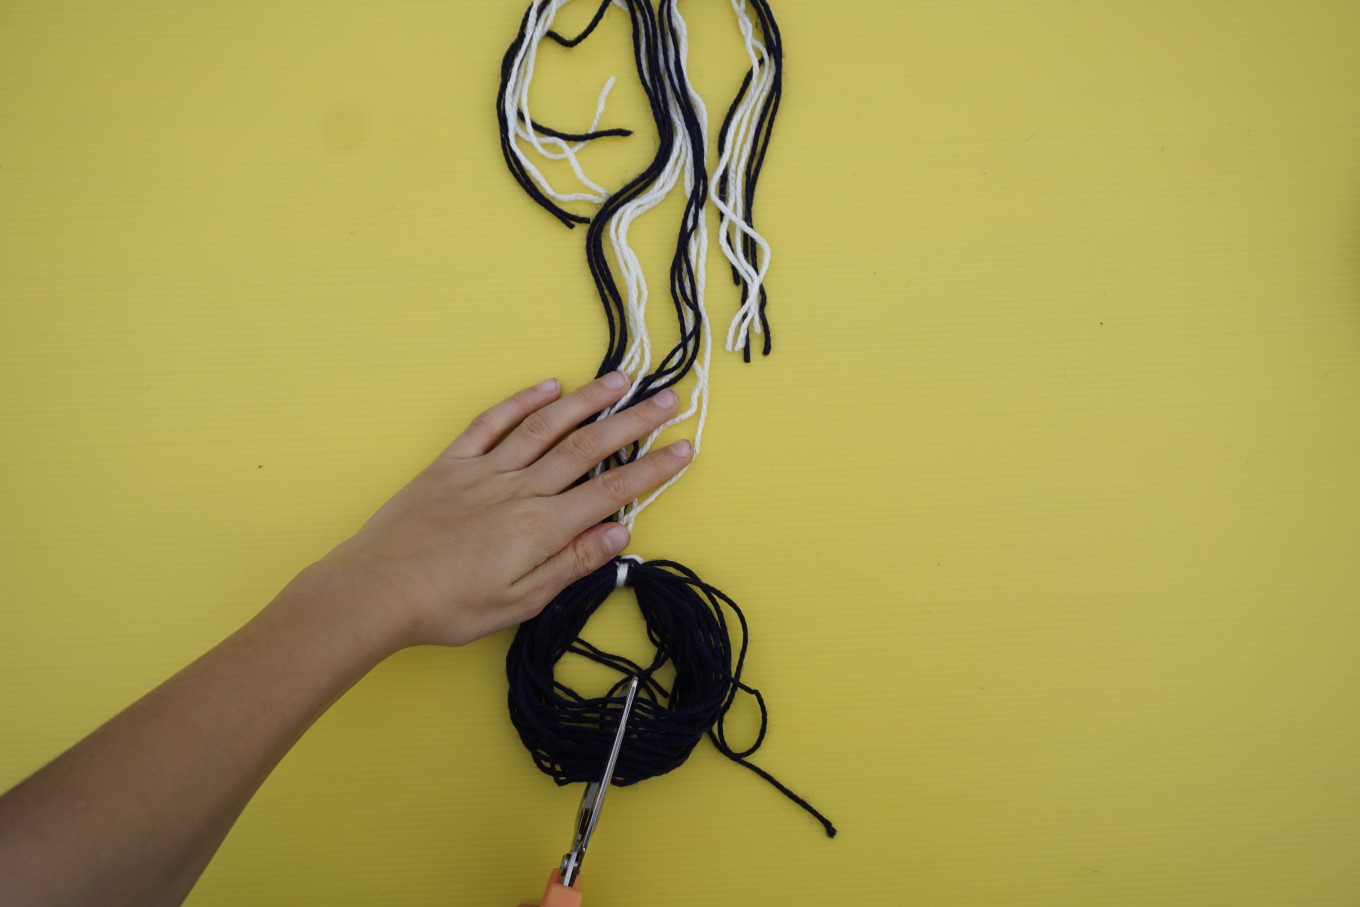
Tie a knot around the circle with your nine lengths of wool, then use a loose piece of wool to tie another knot above the first knot to secure your tassel and cord in place. Use your scissors to cut through the bottom of the loop. Now you have a tassel.
Step 5:
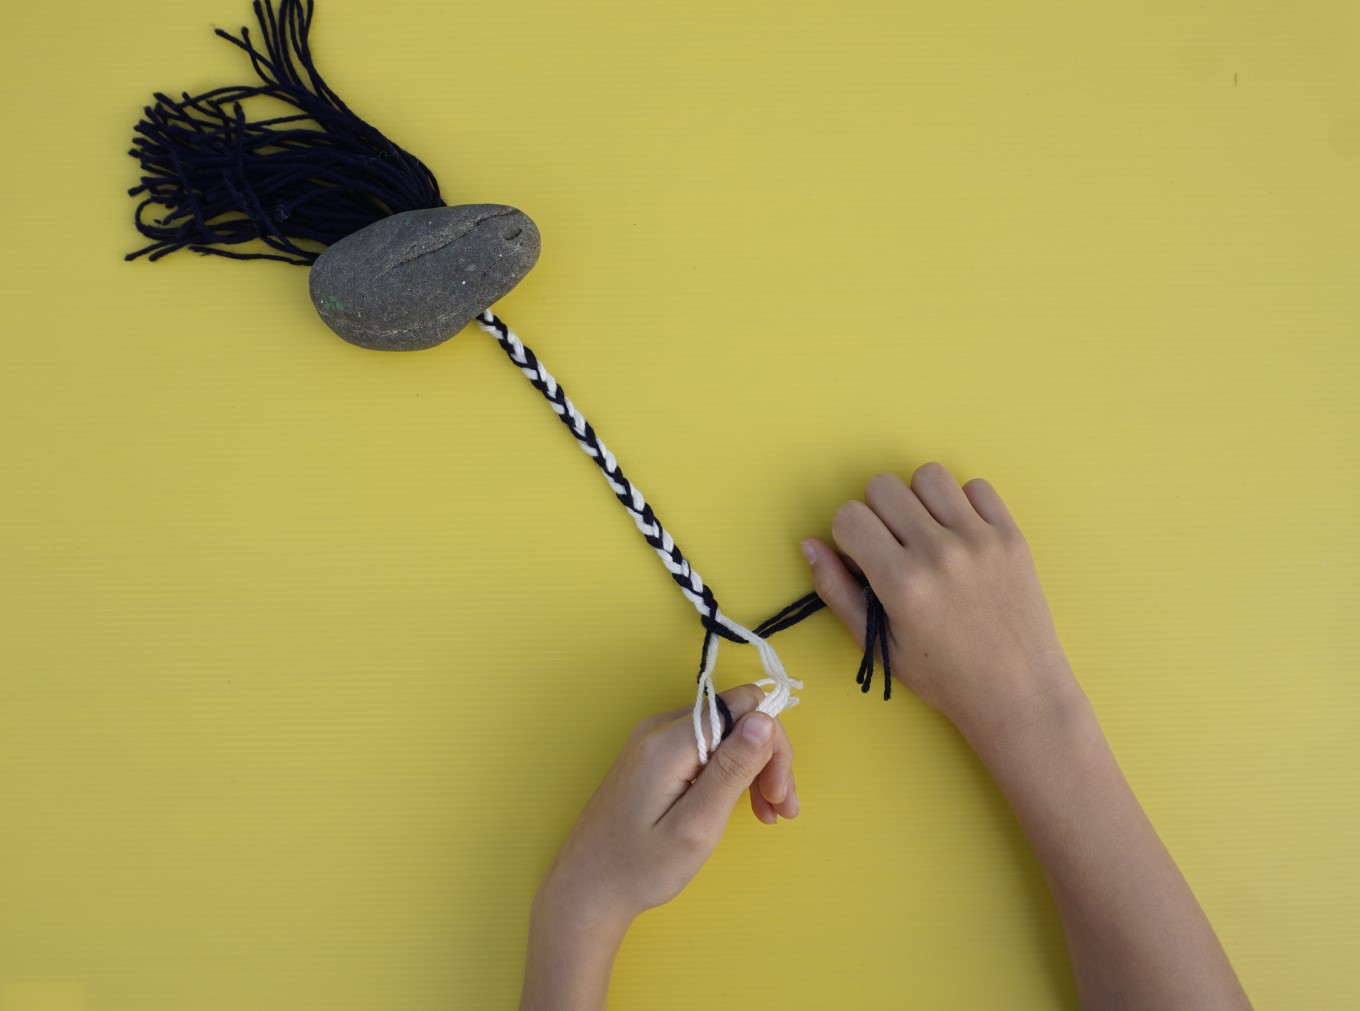
Place an object like a rock on the tassel end of your poi, then divide your wool into three groups with three strands of wool each. Plait them together, leaving some around 10cm loose at the end.
Step 6:
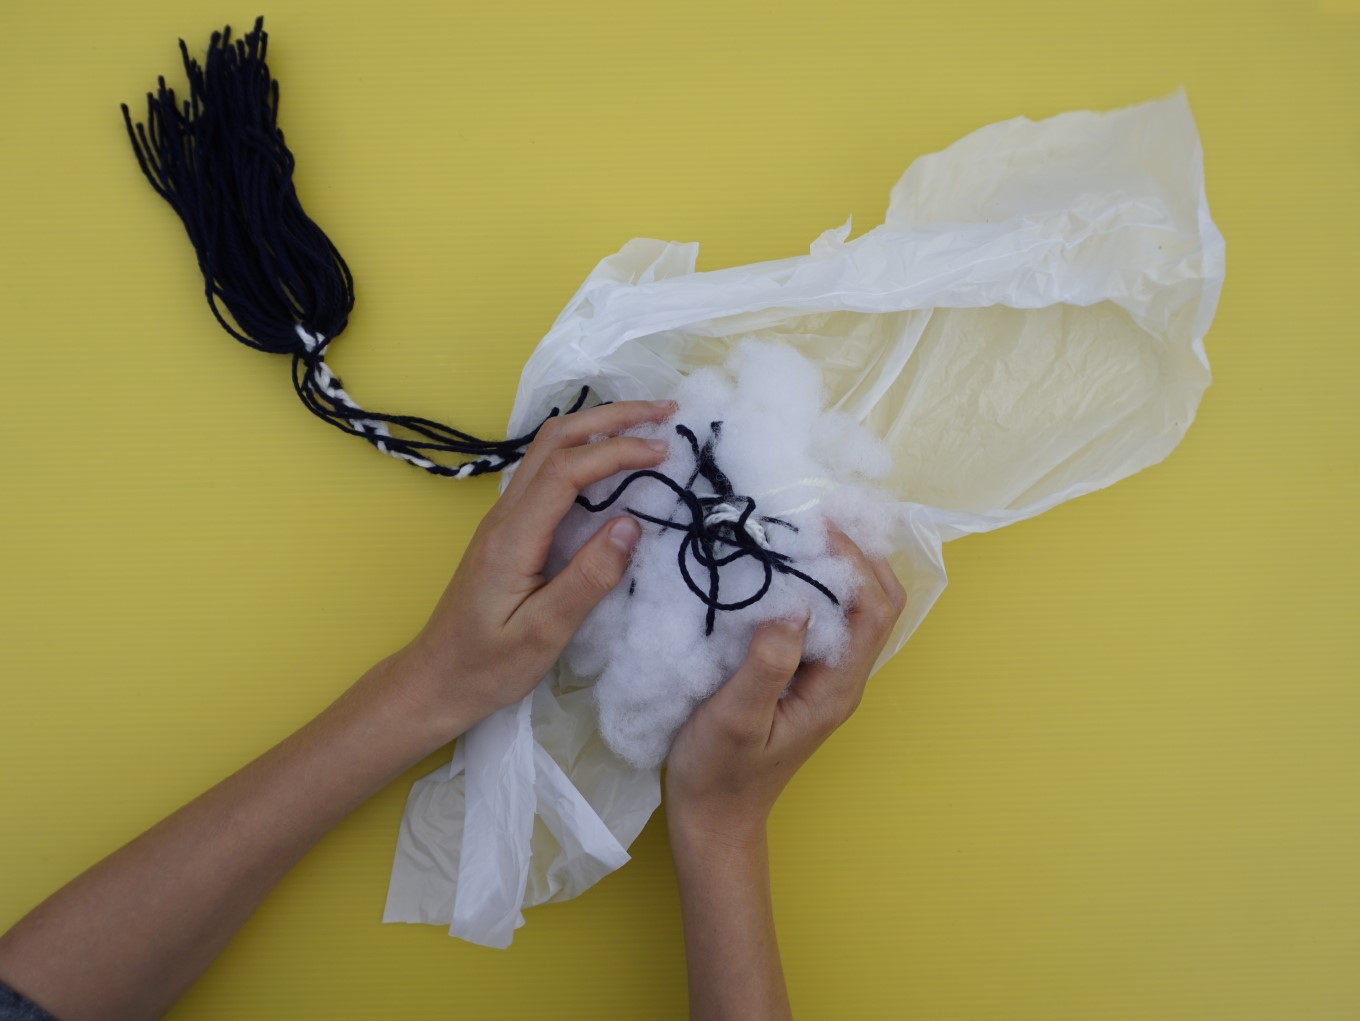
To make the upoko (head), cut out a piece of plastic and lay it out flat. Shape the cotton wool into a ball and place it on top of the plastic. Tie the loose ends of your plaited cord around the wool.
Step 7:
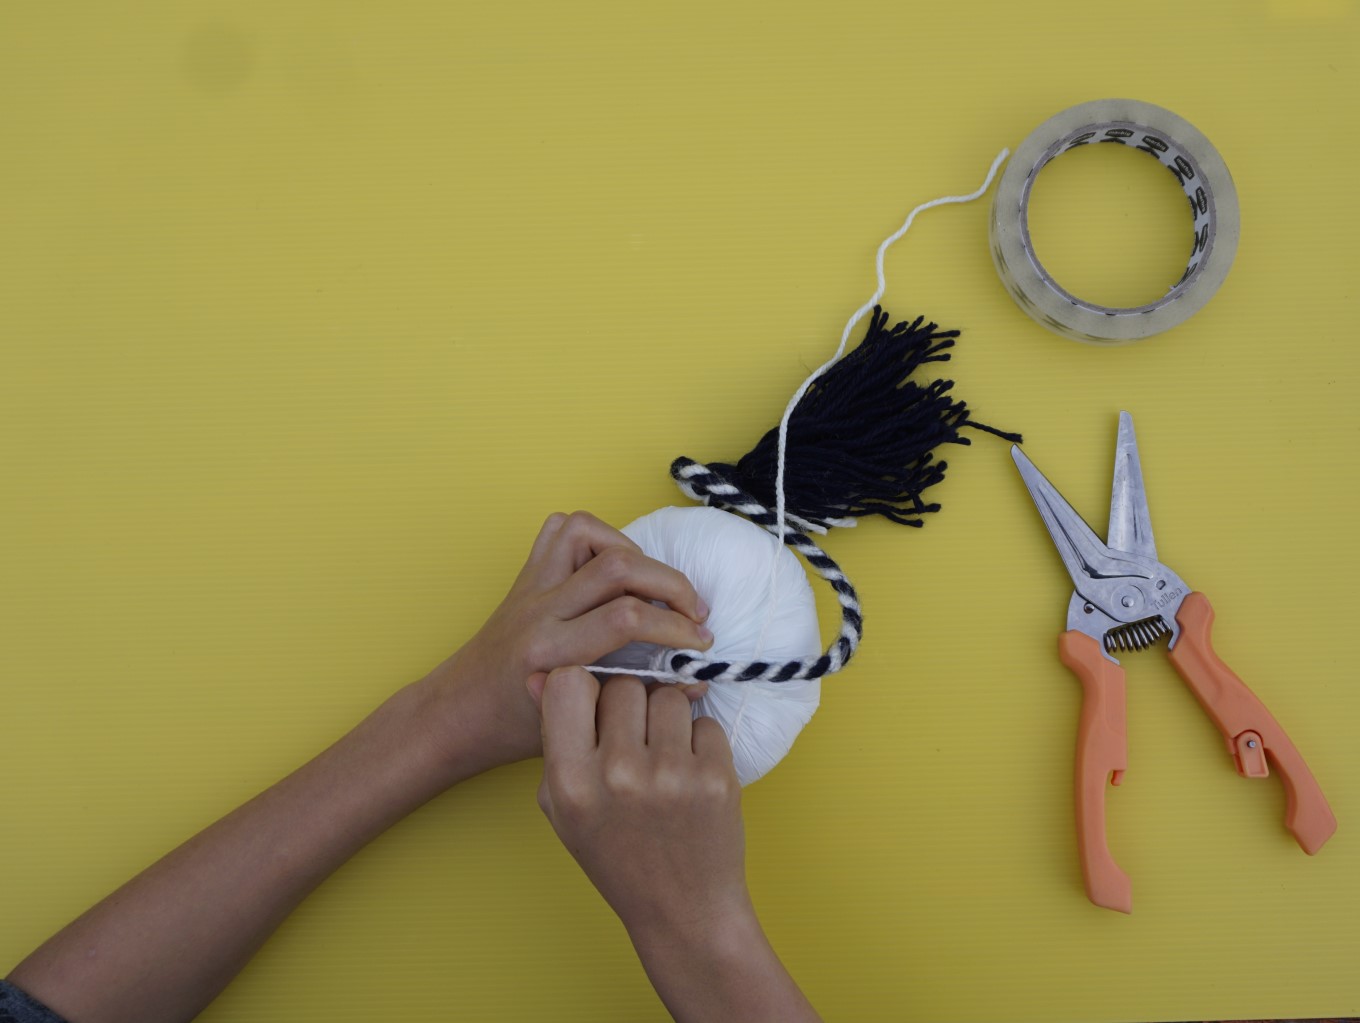
Gather all the edges of the plastic up around the cord neatly (you may need a second set of hands to help with this step). Secure it in place with a piece of sticky tape. Trim any excess plastic off, then wind a piece of wool around the cord and plastic five or six times before tying a knot.
Photo credits: Rachel Clare